Genesys and Deepgram (Legacy)
Genesys and Deepgram (Legacy)
Genesys is a cloud-based platform used by many organizations to manage their call centers. With our plug-and-play Genesys integration, you can have all of your Genesys calls transcribed in real-time by Deepgram.
For a more modern approach, see our updated guide that leverages Genesys’ new Transcription Connector. The new approach allows you to load transcripts directly into Genesys instead of processing them in an external server.
In this guide, we’ll explain how to configure Genesys to share call audio will Deepgram and have transcriptions sent to a callback URL of your choice.
Before you Begin
Before you can use Deepgram, you’ll need to create a Deepgram account. Signup is free and includes $200 in free credit and access to all of Deepgram’s features!
Before you start, you’ll need to follow the steps in the Make Your First API Request guide to obtain a Deepgram API key, and configure your environment if you are choosing to use a Deepgram SDK.
Set Up a Genesys Cloud Org
You’ll also need a Genesys Cloud org where you have completed the initial setup tasks so that your call center can receive calls.
Install AudioHook Monitor
In your Genesys org, install AudioHook Monitor. Note that you will also need to configure voice transcription in order for AudioHook Monitor to work.
Configure AudioHook Monitor
Once you’ve installed AudioHook Monitor, it will appear under Admin > Integrations in the Genesys UI, as in the image below. Now click the three dots on the AudioHook row and choose Edit Integration.

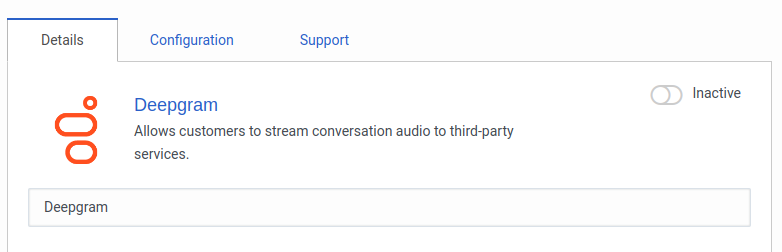
You should now see an interface like below. Under the Details tab, you can give your AudioHook instance a more useful name. Let’s name it Deepgram.
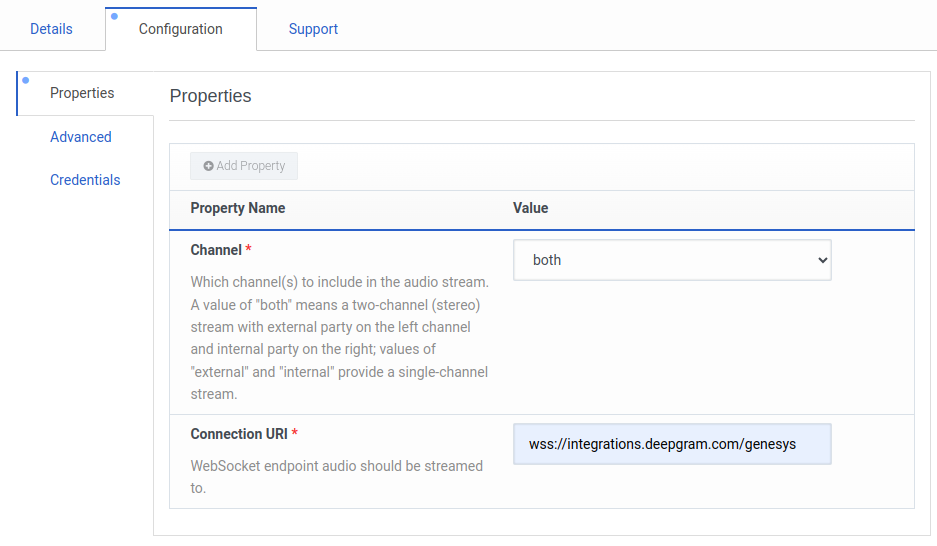
Under Configuration > Properties, set Channel to both and Connection URI to wss://integrations.deepgram.com/genesys.
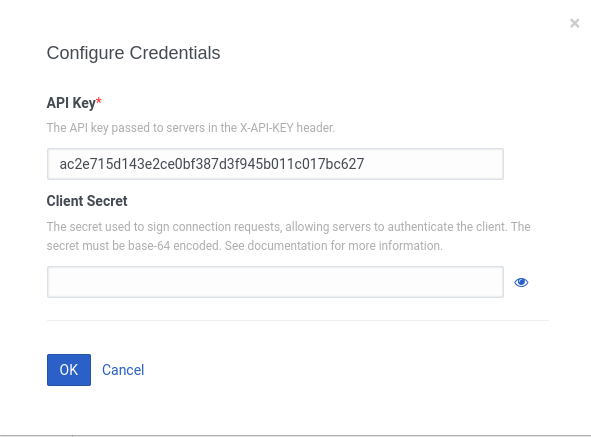
Under Configuration > Credentials, click Configure and paste your Deepgram API key into the API Key field. Leave the Client Secret field blank. Then click OK.
If you specify an API key and then change it, it can take a long time for the new API key to propagate through the Genesys system. Give it 30 minutes before you assume that Deepgram is receiving the new API key. If you don’t want to wait, you can delete AudioHook from the Integrations page, reinstall it, and provide the new API key to the reinstalled AudioHook.
Under Configuration > Advanced, provide a JSON object to customize the Deepgram request. For example:
Within this JSON object, you have access to the full suite of features in Deepgram’s streaming API. However, be careful NOT to include any of these:
sample_rateencodingchannelsmultichannel
Deepgram already knows the sample_rate, encoding, and channels based on the information sent from Genesys, and multichannel is locked to true so that you can tell who is speaking in your transcripts. If you include any of these four features, the integration will fail!
Callback
Let’s take a moment to look at the most important feature: the callback. The callback is the URL where your transcripts will be POSTed in real-time. It works exactly like it does for a normal streaming request, except when you are using Deepgram with Genesys, there are three special placeholders you can include in the callback URL:
{conversation-id}{participant-id}{session-id}
In the example above, we provide a callback of https://example.com/webhook/{conversation-id}. This means that if there is a Genesys call with conversation id fb486691-fbe1-4b8d-a28e-72ca891e8f0b, the transcripts for that call will be POSTed to https://example.com/webhook/fb486691-fbe1-4b8d-a28e-72ca891e8f0b. This allows us to match up transcripts with calls.
To quickly validate that everything is working, it can be helpful to point your callback URL to a free tool that displays incoming requests. Consider using beeceptor.com, webhook.site, or—with slightly more effort but less rate limiting—ngrok.
Understand Which Calls Will Be Transcribed
Now we are done with configuration and can click Save. Before flipping the switch to activate the integration, we should understand which calls will be transcribed by Deepgram. This information is available in the AudioHook docs, but it bears repeating here because it’s easy to use far more Deepgram credit than you intended if you’re not careful.
For historical reasons, Genesys built AudioHook on top of its transcription feature. This means AudioHook integrations will be used wherever transcription is active. At the time of writing, this can happen in two ways:
- Transcription is active at the level of a queue, or
- Transcription gets enabled with a Transcription action in an architect flow.
To check your queues, go to Admin > Contact Center > Queues. For any queue where Voice > Voice Transcription is set to On, all calls going through that queue will be transcribed by Deepgram and have their transcripts sent to the callback URL you specified.
To check your architect flows, go through each flow and look for one of these blocks:
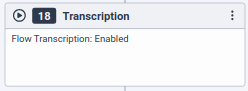
An Enable Transcription action in an architect flow
This block will trigger the Deepgram integration unless you’ve suppressed recording for the flow under Settings > Recording and Speech Recognition.
Once you’ve checked that Deepgram will be used exactly where you want, it’s time to activate the integration.
Activate Integration
Back in Admin > Integrations, flip the switch to activate the integration. Make sure it goes into the Active state and no errors are displayed, like the image below.

The integration has been activated successfully
At this point, if everything was done correctly, you should be able to put a call through the system and see your transcripts arriving at your specified callback URL.
What’s Next